
Emergency Roof Repair: Quick Fixes to Stop Damage Fast
It usually starts the same way. A line of storms rolls through off the bay, the wind gets under a section of shingles, and an hour later there’s water coming through a ceiling. Or you wake up to a brown stain spreading across the drywall after a heavy lake-effect snow. Either way, you’ve got minutes and hours that matter, not days.
Here’s the honest first move for almost everyone reading this: call a roofer before you do anything else. In Traverse City, that’s us. Call Falcon Roofing at 231-233-3530 and we’ll get a crew headed your way, often the same day. While we’re on the way, there are a few safe things you can do inside, and in some cases up top, to slow the damage down. That’s what the rest of this guide is for.
I’ve been doing this in Northern Michigan for over 20 years. The single most expensive mistake I see isn’t the leak itself. It’s a homeowner climbing onto a wet or icy roof in the middle of a storm and getting hurt, or making the breach worse. So read this as “how to buy time safely until the crew arrives,” not “how to fix your roof yourself.”
Stop the Damage Inside First
Before anyone thinks about going up a ladder, protect what’s under the leak. This is the part anyone can do safely.
- Move furniture, electronics, and anything valuable out from under the drip.
- Put a bucket or tote under the active leak, and lay towels or a tarp down to protect the floor.
- If water is pooling against the ceiling drywall (a bulge or a sagging spot), poke a small hole in the low point with a screwdriver and let it drain into a bucket. A controlled drain beats the whole ceiling letting go at once.
- Shut off power to that part of the house if water is anywhere near light fixtures or outlets.
This alone prevents a surprising amount of the damage we see, and it costs you nothing but a few minutes.
Where the Leak Is Actually Coming From
Water rarely comes in directly above where it shows up inside. It travels along decking and rafters and drips at the first low point. If you want to help us help you, this is worth knowing.
From inside the house, you can check your attic for the source. Look for the first point of water penetration, usually along seams, around flashing, or at penetrations like pipe boots and skylights. A flashlight and a dry rag are all you need. Note where it’s wet and where it’s dry, and tell us when we arrive. That cuts down the time we spend hunting and gets you a permanent fix faster.
You do not need to get on the roof to do this, and in a storm you should not.
Temporary Stabilization, Done Safely
If conditions are genuinely safe (dry roof, no wind, daylight, a stable ladder, and someone home with you) there are temporary measures that hold water back until we get there. If any of those conditions are missing, skip this entirely and let the crew handle it. A wet bucket on the floor is a far better outcome than a fall.
A Basic Emergency Kit
If you keep a few things on hand before storm season, you’re ready to stabilize a small problem:
- Roofing cement seals small cracks and gaps in minutes
- Heavy-duty tarp covers larger breach areas
- Marine-grade plywood gives rigid backing for tarps or hole patches
- Galvanized nails resist corrosion
- Butyl rubber tape conforms to irregular flashing surfaces
Patching a Small, Reachable Leak
For a small leak on a low, dry, accessible section of roof:
- Clear debris and thoroughly dry the area around the leak.
- Apply roofing cement directly into the crack or hole, smoothing it with a putty knife.
- Press a patch of roofing membrane or a piece of shingle into the wet cement.
- Seal the edges with another layer of cement, tapering them so water doesn’t pool.
Done correctly, this buys you days or weeks of a dry house until we replace the failed section properly. It is a stopgap, not a repair.
Take Safety Seriously
Roof work puts people in the hospital every storm season. Before anyone goes up:
- Wear a safety harness tied to a secure anchor point.
- Use slip-resistant footwear and keep tools tethered.
- Check the forecast. Never work in rain, snow, ice, or wind off the bay.
- Shut off power to any attic lights near the work area.
If it isn’t clearly safe, don’t go up. Call us instead. We do this for a living, on roofs in conditions that would put most homeowners at real risk, and we’re insured to do it.
When It’s Past a Quick Fix
Some situations need us right away, no patching. Call us immediately if you see:
- Water spreading over a wide area or multiple drips across the rafters
- Soft or sagging decking
- Damage to ridge vents, chimney flashing, or several missing shingles at once
- Ice dams that keep reforming despite heat cables or de-icing
These are systemic problems. A tube of roofing cement won’t touch them.
Storm Damage: Stabilize, Then Restore
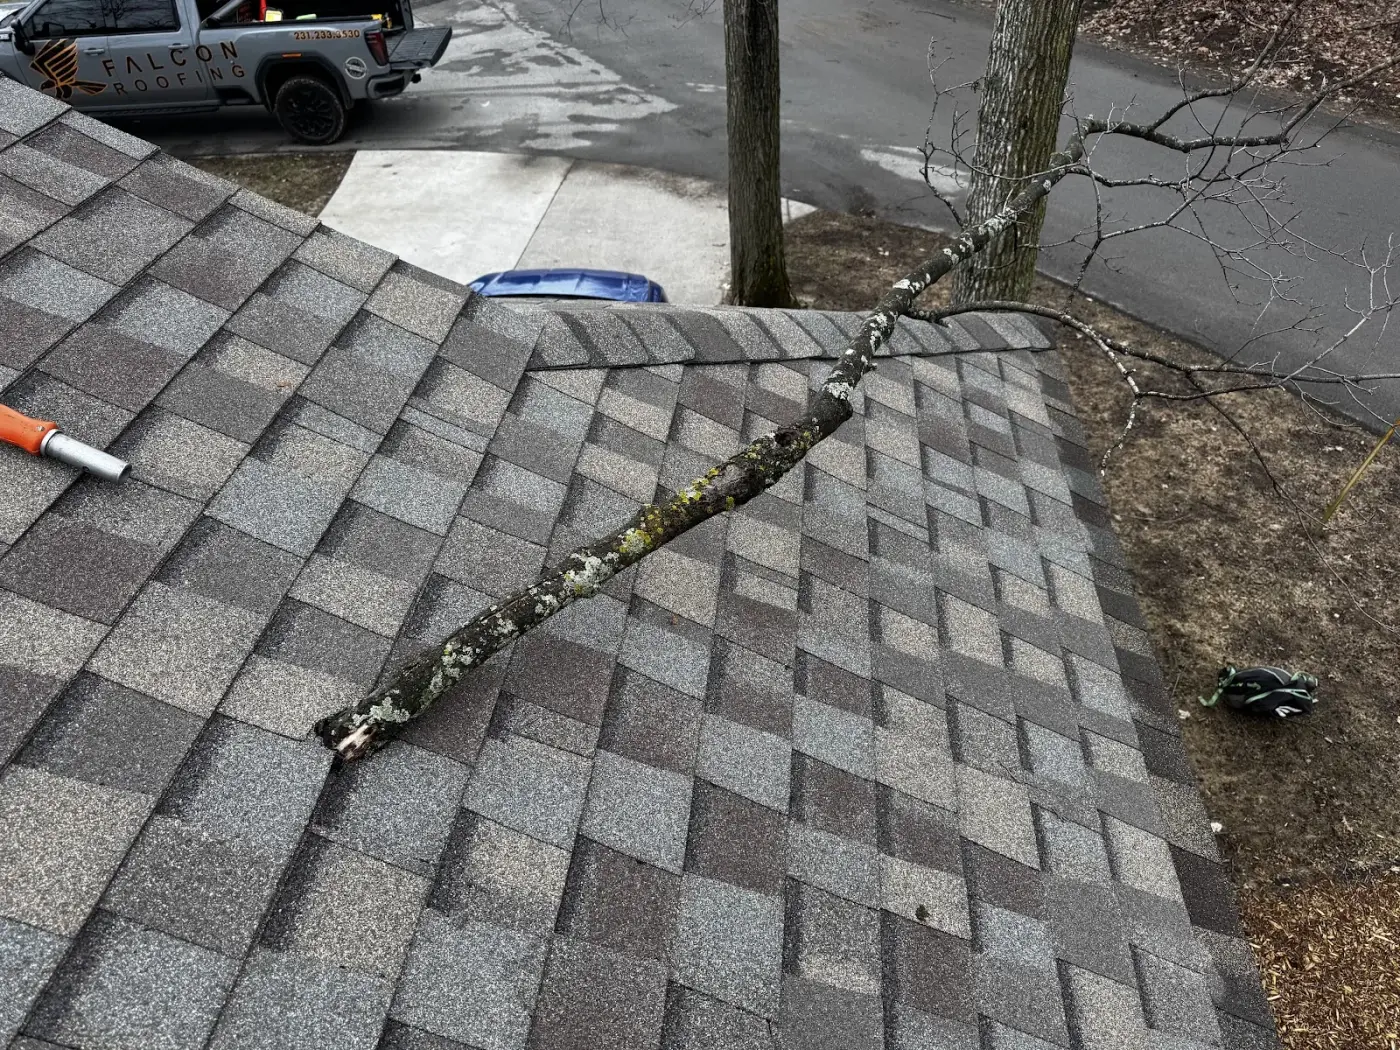
Northern Michigan throws a particular set of problems at a roof. High wind coming off Grand Traverse Bay peels shingles and lifts flashing. Lake-effect snow piles weight on the deck. Freeze-thaw cycles work water under anything that isn’t perfectly sealed. After a storm blows through, the goal is the same: stop interior water now, do the permanent restoration once.
Looking It Over From the Ground
Start from the ground, and stay there. Scan for missing or detached shingles, dented metal, and displaced flashing. Check the gutters and downspouts for granule buildup, which is shingle material grinding off. From inside, check your attic for daylight, water stains, or pooling. Take photos of everything you can see. They help with both our assessment and your insurance claim.
Emergency Tarping
For a large breach, a tarp is the standard temporary fix. This is real roof work in storm conditions, and it’s exactly the kind of call where you’re better off having us do it. If you’re going to attempt it yourself, the method is:
- Lay the tarp over the damaged area, extending at least three feet beyond the breach on all sides.
- Position wood battens perpendicular to the slope to sandwich the tarp and spread out wind loads.
- Secure battens with galvanized nails every 12 inches through the tarp and into the deck.
- Tie the tarp corners to strong anchor points (chimney flanges, ridge vents) to resist wind uplift.
A properly installed tarp holds for four to six weeks. When we tarp a roof, we install it to survive the next round of wind off the bay, not just the calm afternoon after the storm.
Board-Up for Major Openings
For holes or major breaches around vents, skylights, or similar penetrations, a plywood board-up blocks wildlife, debris, and water until we restore the area: cut plywood to cover the opening, frame the perimeter with 2x4 lumber for nailing support, and secure the panels flush to the deck with corrosion-resistant screws. Again, this is the kind of work we’d rather come do than have you attempt in bad weather.
Northern Michigan’s Usual Suspects
Twenty years of roofs up here, and the emergency calls fall into a handful of patterns. Here’s what to do until we get there.
Ice Dams
This is the classic winter emergency around Traverse City. Heat escapes through the roof, melts the snow at the ridge, and it refreezes at the cold eaves. The dam backs water up under the shingles and into the house. The lasting fix is in the attic, which our guide to ice dam prevention in Northern Michigan covers in full. While you wait on us:
- Use a roof rake to pull snow from the ridge down toward the eave, from the ground, never from the roof.
- Lay calcium chloride packs inside a fabric tube across the dam to melt drainage channels.
- Never chip at the ice. You’ll wreck the shingles and make next week worse.
The real fix is better attic insulation, air sealing, and ventilation, which we can sort out once the immediate crisis passes.
Shingles Blown Off the Bay Side
High wind off the bays strips shingles and leaves the deck and underlayment exposed to the next band of rain or snow. If a section is reachable and the roof is dry, you can lift the adjacent shingles, run roofing cement under the tabs, set a replacement shingle, nail it above the cutout line, and seal the nail heads. If it’s up high or the weather’s still moving, leave it for us.
Skylight and Vent Leaks
Leaks at penetrations almost always mean a flashing seal has let go. As a temporary measure you can clear the old sealant, run butyl rubber tape under the flashing flange, and re-caulk the perimeter with a high-performance roofing sealant. When we come out, we inspect that flashing and replace it where it’s worn rather than just re-sealing over a failing piece.
Flat Roof Leaks
On a flat or low-slope membrane, clean and dry the spot, cut a patch about three inches larger than the leak, adhere it with cold-applied adhesive, press out the air, and weight it with a board or sandbag until it cures. These are common on garages and commercial buildings around town, and they’re a core part of what we do.
Clogged Gutters in Heavy Rain
Clogged gutters back water up under the roof edge and rot the fascia. If you can safely clear them during or right after a storm, do it. If they’re overflowing and out of reach, focus on getting water away from the foundation and let us handle the cleanup.
The Insurance Side of a Storm Claim
This is where a lot of homeowners leave money on the table, so it’s worth getting right.
Document everything from the start. Photograph the damage inside and out, the temporary measures you or we put in place, and anything you had to move or throw away. Keep receipts. Note the date and time the damage happened and what the weather was doing.
We coordinate with insurance adjusters directly, document the damage with photos and written reports, and help you navigate claims under wind, hail, and additional living expense coverage. Knowing what your policy actually covers, and having the damage documented properly, is often the difference between a claim that pays for the full restoration and one that doesn’t. We’ll walk you through it, and our step-by-step guide to filing a roof insurance claim in Michigan covers the whole process.
A Little Prep Goes a Long Way
The best emergency is the one that never happens. Before storm season:
- Clear the valleys and gutters
- Stock a basic kit: sealants, a tarp, tools, flashlights
- Keep attic insulation and ventilation in good shape to hold off ice dams
- Have a roofer’s number saved before you need it. Ours is 231-233-3530.
Call Us First, Then Stabilize
When water’s coming in, the smartest first move isn’t a ladder, it’s a phone call. We respond fast across Traverse City and Northern Michigan, often the same day, whether you need emergency roof repair near Empire, a call out in Maple City, or help over in the Glen Arbor area, with crews and materials built for heavy snow, ice, and the wind that comes off the bays. The steps in this guide are here to help you protect your home in the meantime, safely.
Temporary fixes buy time. They don’t replace a permanent repair. Once the crisis is handled, we’ll come back, find the real source, and restore it for good, replacing worn flashing and decking where it needs it. That’s the heart of our roof repair service.
Call Falcon Roofing at 231-233-3530 for emergency response, or reach out for a free estimate on permanent restoration.

About the author
Seth Harris | Owner, Falcon Roofing
Seth Harris is the owner of Falcon Roofing and has worked in the roofing industry for over 20 years. Born and raised in Northern Michigan, he knows firsthand what our climate does to a roof, from heavy snow and ice dams to the freeze-thaw cycles that wreck poorly installed systems. He is personally involved in every project, from the first inspection to the final walkthrough.
More about Seth →Have questions about your roof?
We're happy to help. Give us a call or request a free estimate online.